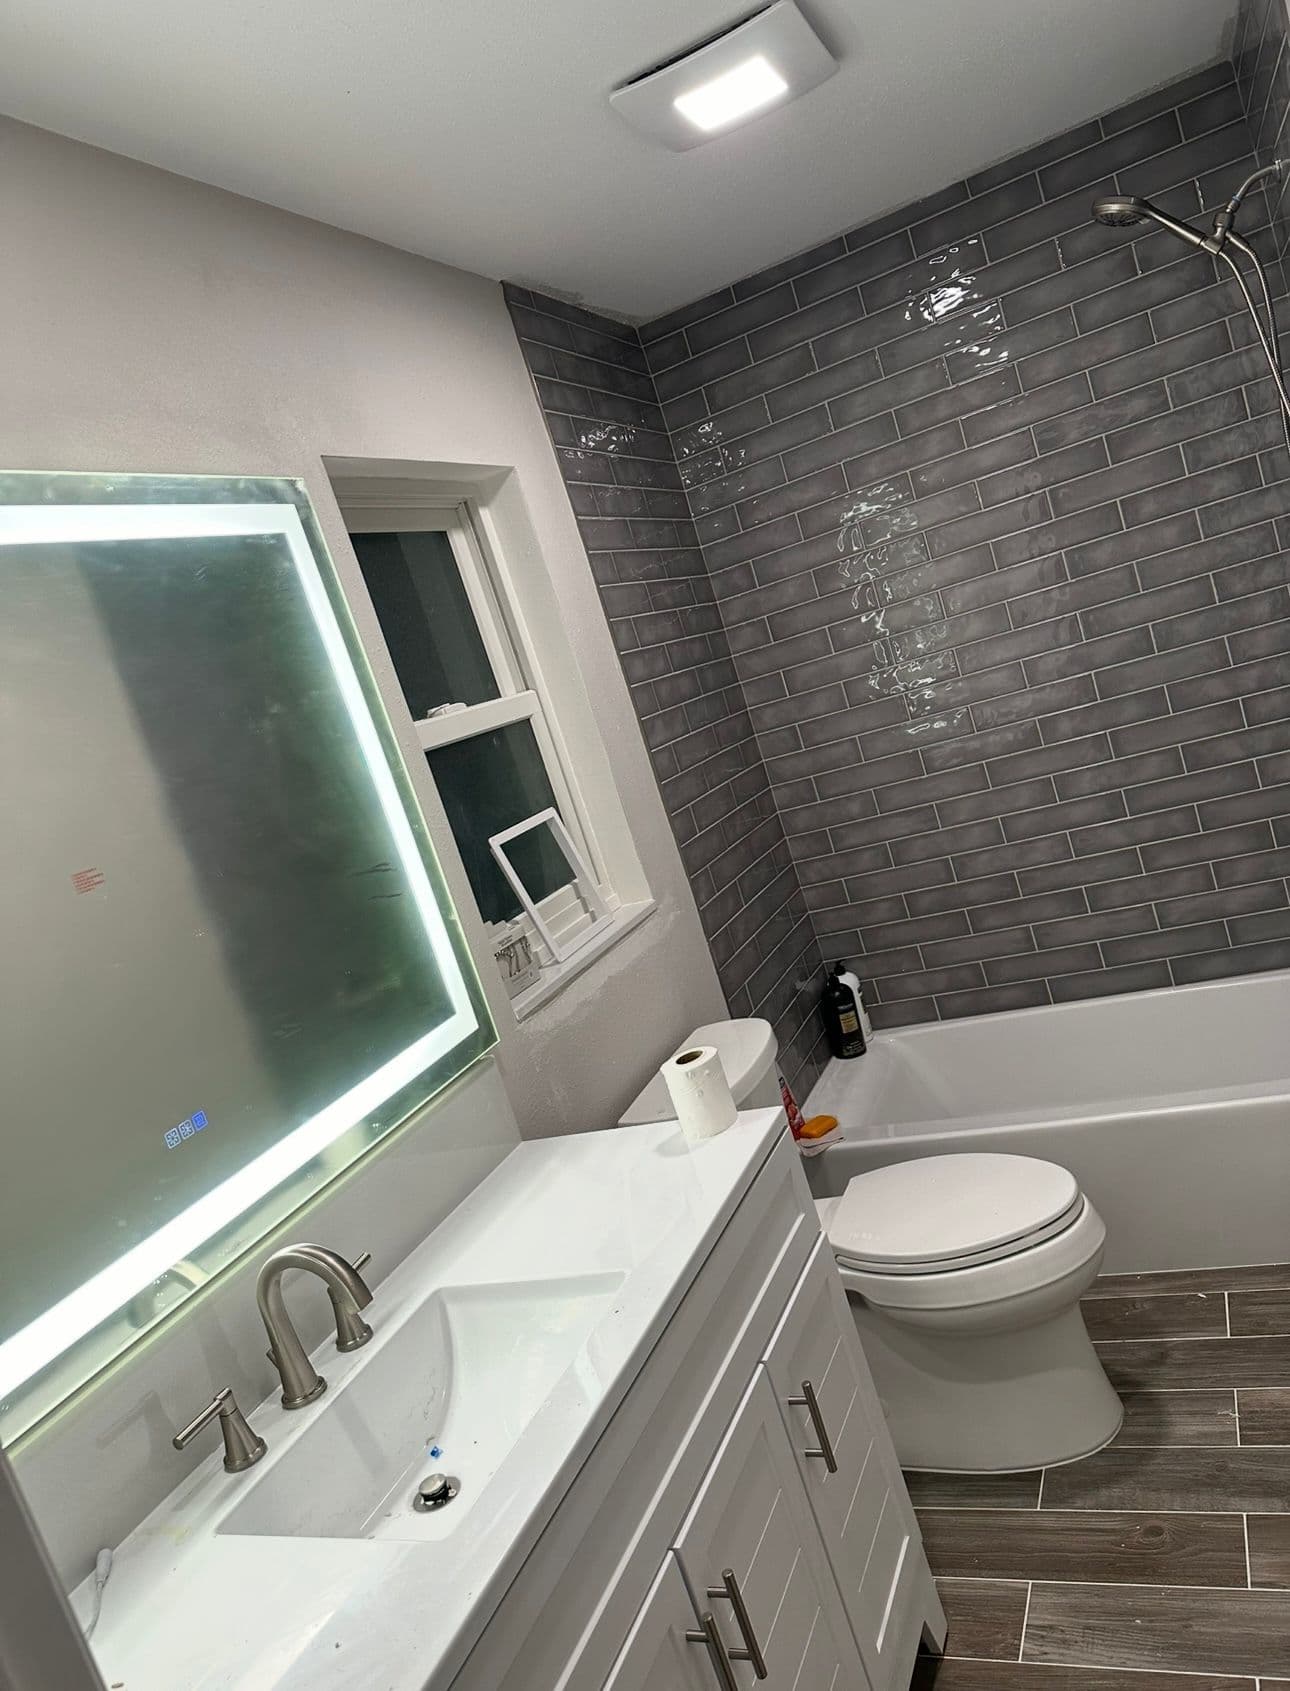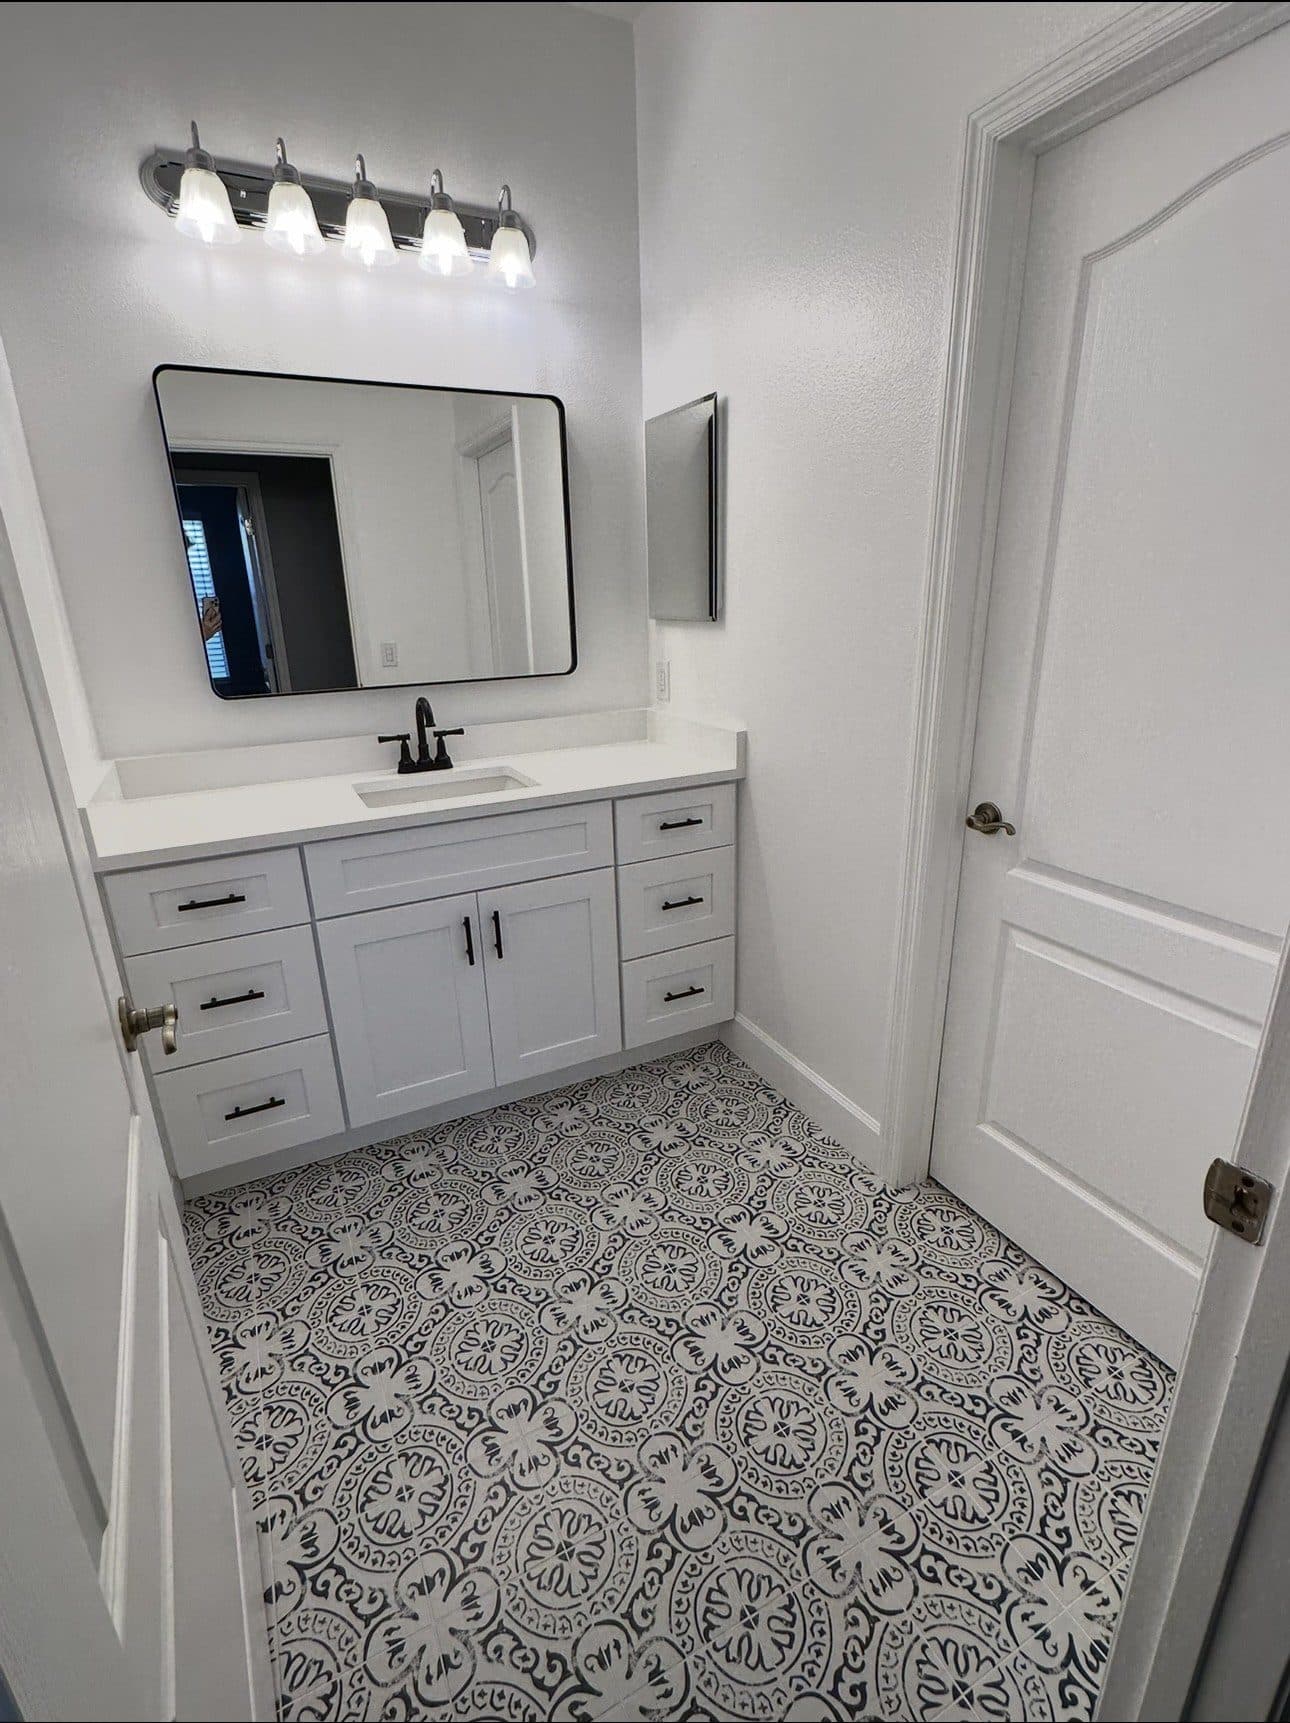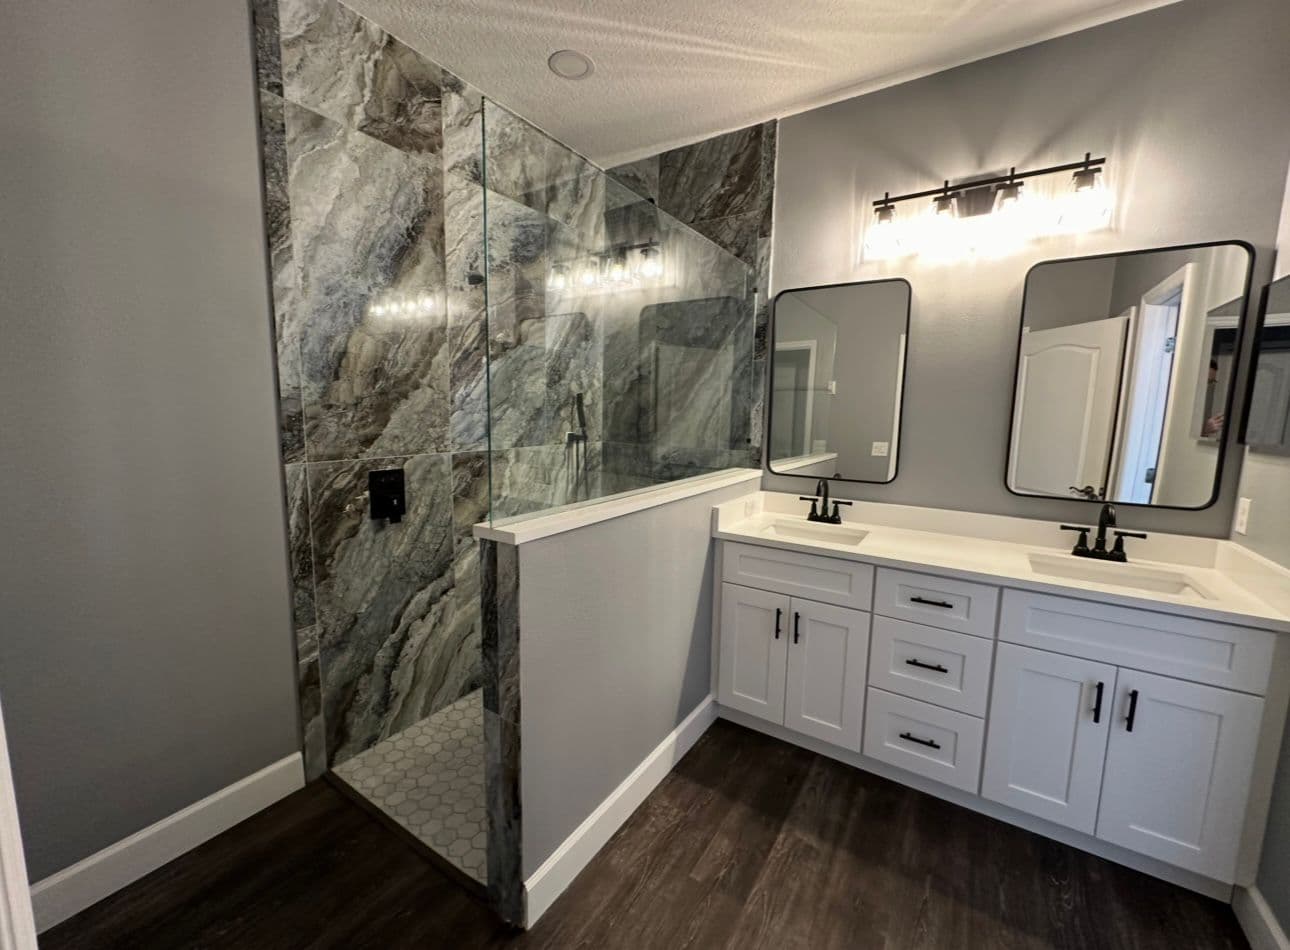
If you want to protect a bathroom from moisture damage, focus on three things first: vent humid air outside, waterproof wet areas correctly, and catch leaks early. In Southwest Florida, that matters even more because heat, humidity, and frequent use can turn small bathroom moisture problems into mold, swelling, peeling paint, and hidden damage much faster than many homeowners expect.
Bathrooms do not fail all at once. Moisture usually sneaks in through poor ventilation, weak waterproofing, or small plumbing leaks that go unnoticed. The good news is that a bathroom can be built and maintained to handle moisture well if every layer works together. That means the fan has to move air out of the home, shower and tub areas need true waterproofing beneath the finish surfaces, and plumbing, caulk, and grout need regular attention.
Start with ventilation that actually removes humid air
The fastest way to reduce moisture damage is to get damp air out of the bathroom before it lingers on walls, ceilings, mirrors, and trim. A bathroom exhaust fan should do more than make noise. It should be properly sized, vented outdoors, and used long enough to clear humidity after showers.
Why outside venting matters
An exhaust fan that dumps into an attic, crawl space, or another hidden area can move the problem instead of solving it. That moisture can condense on framing, insulation, and roof components, creating the kind of damage that is expensive to find and repair later. In Florida homes, bathroom exhaust should be directed outdoors.
What a good fan setup includes
A moisture-control fan setup usually includes:
- A fan sized for the room
- A duct run that exhausts all the way outside
- A backdraft damper, when appropriate
- A timer switch or humidistat so the fan runs long enough
- A door undercut or another way for makeup air to enter the room
That last point is easy to overlook. If air cannot get into the bathroom, the fan cannot move humid air out efficiently. The room needs a path for replacement air.
How long should the fan run?
There is no single rule for every bathroom, because room size, humidity, shower habits, and fan capacity all matter. A timer or humidistat is often helpful because it keeps the fan running after the shower ends, when humidity is still high. In a humid climate, shutting the fan off too soon can leave surfaces wet long enough for mildew to develop.
Signs your ventilation is not doing its job
Watch for these warning signs:
- Foggy mirrors long after a shower
- Condensation dripping from the ceiling or fan grille
- Peeling paint near the ceiling
- Musty odors
- Recurring mildew on grout or caulk
If those problems keep coming back, the fan may be undersized, ducted incorrectly, or simply not being used long enough.
Build shower and tub areas with true waterproofing
Tile, grout, paint, and pretty finishes are not the same thing as waterproofing. A bathroom can look finished on the surface while still allowing water to reach framing, drywall, or subfloor materials behind the walls and under the floor. That is why wet areas need a proper waterproofing system beneath the finish materials.
What waterproofing should protect
The most important moisture-prone zones include:
- Shower floors
- Shower walls
- Tub surrounds
- Floor-to-wall transitions
- Corners and seams
- Pipe penetrations and valve openings
These are the spots where leaks and water intrusion often begin. If the waterproofing system is weak at a transition or penetration, damage can spread quietly behind the wall.
Why details matter so much
Waterproofing products are only as good as the installation. A membrane that is good on paper can still fail if seams are not sealed correctly or if corner details are skipped. Follow the product manufacturer’s instructions exactly, especially at:
- Inside and outside corners
- Niche openings
- Benches
- Drain connections
- Areas where walls meet the floor
For homeowners planning a remodel, this is one reason it helps to think about moisture control early in the design stage. A shower that is easier to waterproof well is usually a better long-term investment than one that only looks good on day one.
Do not rely on tile or caulk alone
Tile and grout can help manage water on the surface, but they are not a complete moisture barrier. Caulk also needs maintenance because sealant can shrink, crack, or separate over time. The real protection comes from the layers behind the finish.
If you have ongoing shower cracking or recurring grout issues, this related article may help explain why the problem keeps returning: why shower grout keeps cracking in Florida.
Use moisture-resistant materials in the right places
Not every material belongs in every part of a bathroom. In a humid climate, it pays to be selective about the materials used in splash-prone and high-condensation areas.
Where material choice matters most
Choose materials carefully for:
- Shower enclosures
- Tub surrounds
- Vanity backsplashes
- Ceiling areas near showers
- Walls exposed to regular splashing or condensation
Some finishes handle humidity better than others, but no finish should be treated as a substitute for waterproofing. A moisture-resistant paint or a tile surface can help, but those are not the primary barrier keeping water out of the wall assembly.
What homeowners should understand about “moisture-resistant”
The phrase “moisture-resistant” does not mean waterproof. It simply means a material may tolerate humid or damp conditions better than a standard interior product. That distinction matters in Southwest Florida, where bathrooms can stay damp for long periods if ventilation is weak or surfaces do not dry quickly.
Think about the whole assembly, not just the finish
A bathroom wall is more than paint or tile. It is a system made up of framing, backer materials, membranes, fasteners, sealants, and finish surfaces. If one layer is wrong, the whole assembly can be compromised.
Stop small leaks before they become hidden damage
Moisture damage often starts with something small: a loose supply line, failing caulk, a slow drip under the sink, or a toilet seal that no longer performs well. These issues may not seem urgent at first, but over time they can rot cabinetry, damage subfloors, stain drywall, and create conditions where mold thrives.
Areas to inspect regularly
Check the following points on a routine basis:
- Under the sink
- Around the toilet base
- Behind and beneath the vanity
- At tub and shower valves
- At supply lines and shutoff valves
- Around tub lips, shower curbs, and visible sealant joints
A quick look every so often can save a lot of trouble later. You do not need to dismantle the bathroom. You just need to notice changes early.
Early signs of trouble
Call attention to these red flags:
- Soft drywall or swollen trim
- Staining on ceilings or walls below a bathroom
- A persistent musty smell
- Loose caulk or cracked grout in wet areas
- Reappearing mildew even after cleaning
- Flooring that feels spongy or uneven
Those symptoms do not always mean a major repair, but they do mean moisture is getting where it should not.
Why mold prevention starts with moisture control
If a bathroom repeatedly stays damp, mold can develop in hidden areas that are hard to clean or see. The key is to stop the water source and dry the area quickly. Cleaning visible mildew helps only if the moisture problem is fixed at the same time.
Control condensation, not just obvious leaks
Not all bathroom moisture comes from a broken pipe or shower leak. Condensation can create just as much trouble, especially when warm, wet air hits cooler surfaces and water forms on mirrors, tile, metal fixtures, and painted ceilings.
How to reduce condensation problems
Good habits make a difference:
- Run the exhaust fan during the shower and after it ends
- Keep the room ventilated as long as needed to dry surfaces
- Wipe down wet shower walls, glass, and fixtures when practical
- Avoid letting the room stay humid for long periods
In Southwest Florida, the outside air is often humid too, so relying on an open window alone is not always enough. Mechanical ventilation is usually the more dependable option.
Why everyday drying habits help
Bathrooms that dry out quickly are less likely to develop mildew, odor, and finish damage. Even simple steps like hanging wet towels properly or leaving the door open after the room is dry can help the space recover faster.
Plan a bathroom remodel around moisture protection from the beginning
If you are remodeling, moisture protection should be built into the plan from day one. It is much easier to create a durable bathroom during construction than to fix repeated failures later.
Smart remodel decisions that help long term
Consider:
- A properly sized outside-vented exhaust fan
- Waterproofing at all wet-area transitions
- Materials chosen for humid conditions
- Easy-to-inspect plumbing access where practical
- Quality sealant details around tubs, showers, and sinks
A remodel is also the time to look at layout. For example, improving fan placement, reducing splash exposure, or simplifying the shower design can make moisture control easier for years to come.
When to bring in a pro
If you are seeing recurring leaks, cracked shower grout, or signs of hidden moisture, it is worth having the bathroom evaluated before cosmetic repairs go back in. Cosmetic fixes alone usually do not solve a recurring water issue.
If you are planning a local project, this page may be helpful: bathroom remodel port charlotte fl.
A practical moisture-damage checklist for homeowners
Use this simple checklist to keep a bathroom in better shape:
- Make sure the exhaust fan vents outdoors.
- Run the fan during showers and long enough afterward.
- Keep wet-area waterproofing intact and properly maintained.
- Inspect caulk, grout, and sealants for cracking or separation.
- Check under sinks, around toilets, and at valve penetrations for leaks.
- Watch for musty odors, stains, soft drywall, or recurring mildew.
- Repair small problems before they spread into hidden cavities.
This is not about perfection. It is about consistency. Bathrooms hold up better when moisture gets removed quickly and weak spots are repaired early.
FAQ
How do you protect a bathroom from moisture damage?
Use three layers of defense: outside-vented exhaust ventilation, proper waterproofing in wet areas, and regular leak prevention. Those steps work together to keep moisture from reaching hidden building materials.
Is a bathroom fan enough to prevent mold?
Not by itself. A fan helps a lot, but it only works well if it is sized correctly, vents outside, and runs long enough after showers. Waterproofing and leak control still matter.
Should shower tile be considered waterproof?
No. Tile is a finish, not the primary waterproof barrier. The waterproofing system behind the tile is what protects the structure from water intrusion.
What are the most common signs of hidden moisture damage?
Look for soft drywall, discoloration, peeling paint, a musty smell, recurring mildew, and flooring that feels damaged or uneven.
How often should bathroom leaks be checked?
There is no universal schedule, but periodic checks under sinks, around toilets, and at tub and shower plumbing are a smart habit for any home, especially in a humid climate.
Can moisture problems come back after cleaning mold?
Yes. If the source of moisture is not fixed, mold and mildew can return. Cleaning is only part of the solution; the moisture problem has to be corrected too.
The bottom line
Protecting a bathroom from moisture damage comes down to moving humid air out, keeping water out of the structure, and fixing small leaks before they turn into larger repairs. In Southwest Florida, where humidity works against every bathroom surface, those basics matter even more. If your bathroom has ongoing mildew, loose caulk, damaged grout, or signs of hidden leaks, it is worth addressing the moisture source before the damage spreads.