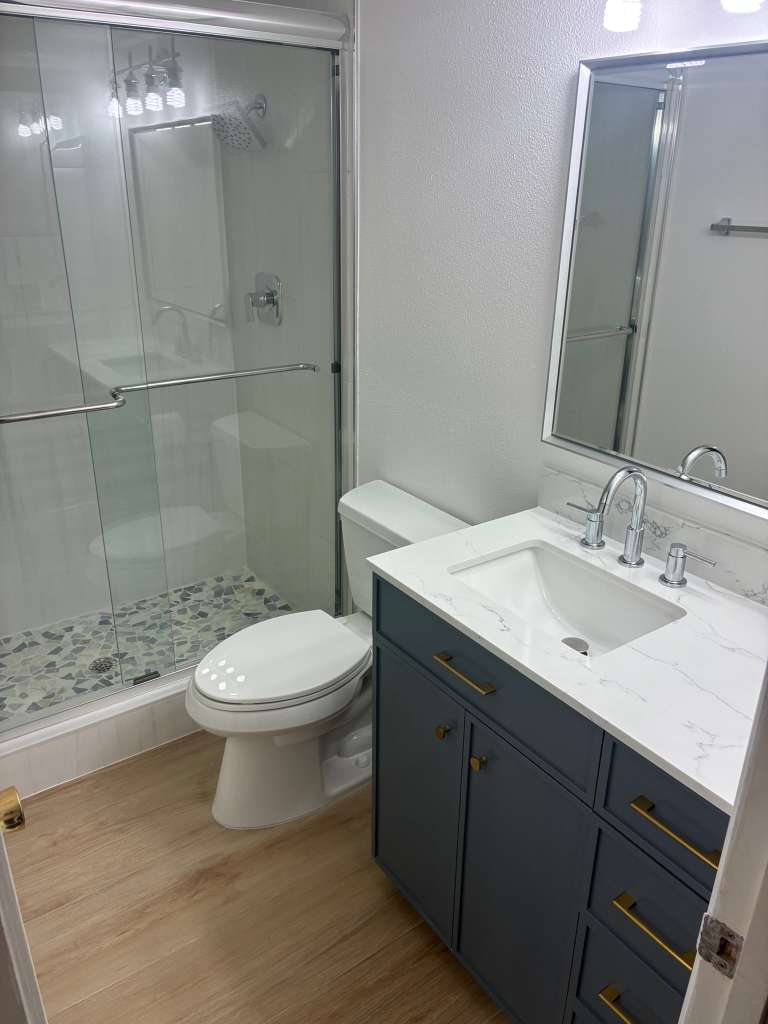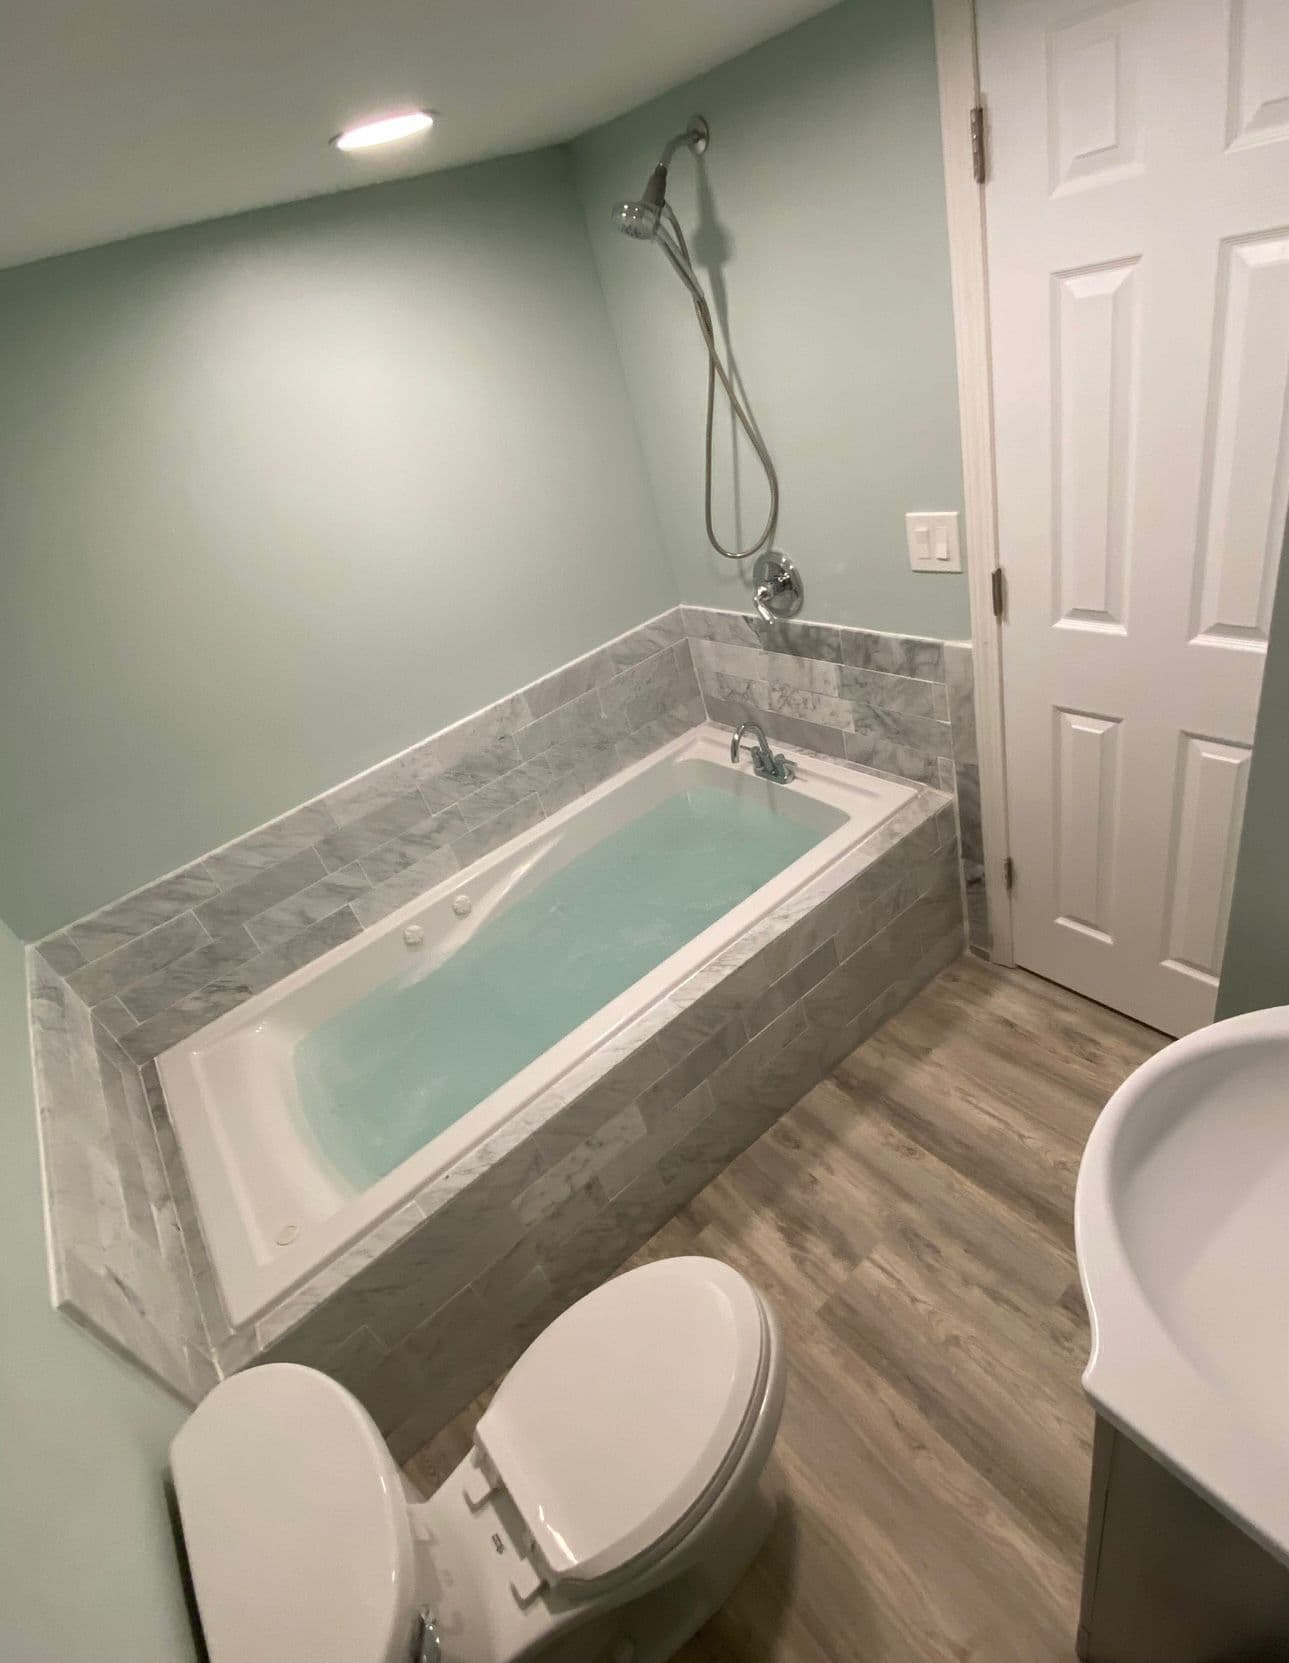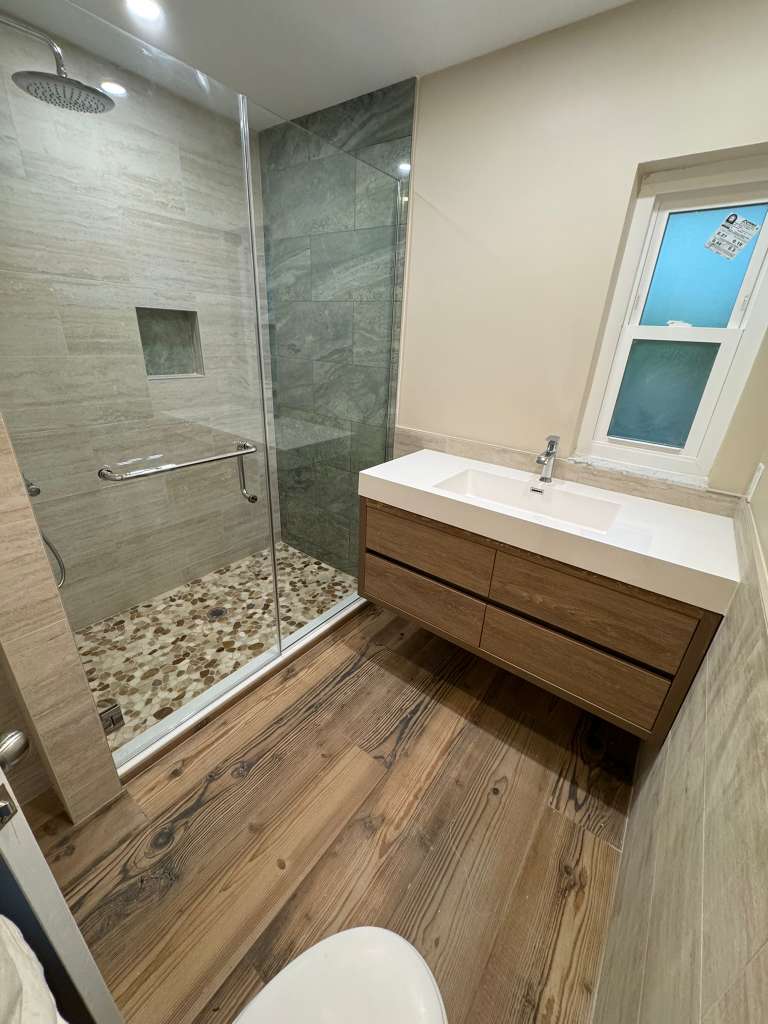
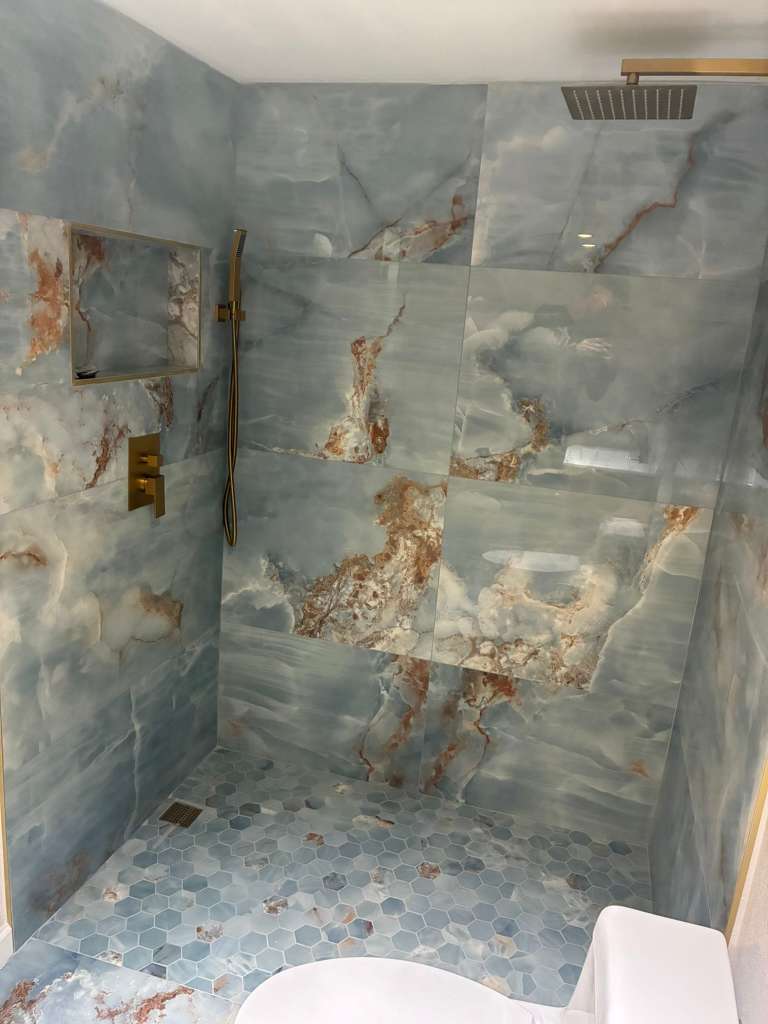
Converting a bathtub to a walk-in shower means more than swapping fixtures. The real job is removing the tub, rebuilding the shower base, upgrading plumbing as needed, and installing a waterproof wall and floor system that can handle daily use. In Southwest Florida, that matters even more because humidity, moisture, and corrosion can expose weak details quickly. If you’re asking how to make a bathtub into a walk in shower or how to turn a tub into a walk in shower, the short answer is: start with demolition, then rebuild the shower correctly from the framing out.
What a tub-to-shower conversion really involves
A bathtub-to-shower project usually has four main parts:
- Demolition of the tub, surround, and damaged wall materials.
- Plumbing changes so the drain, valve, and water supply fit the new shower layout.
- Waterproofing and shower base construction so the shower is watertight and properly sloped.
- Finish work like tile, wall panels, fixtures, glass, and accessories.
That order matters. A new shower can look finished on the surface and still fail underneath if the waterproofing, slope, or drain details are wrong.
Why the tub removal is only the first step
When a tub comes out, you often reveal what has been hidden behind it: damp drywall, soft subflooring, old plumbing, or framing that needs repair. That is why the conversion should be treated as a remodel, not a simple fixture replacement.
Decide what kind of shower you want first
Before anyone starts tearing out the tub, decide what the finished shower should do for your household.
Standard step-over shower
This is the most common option. It includes a raised curb or threshold and works well where accessibility is not the main concern.
Low-threshold shower
A low-threshold shower reduces the step into the shower area. It can be a practical middle ground for homeowners who want easier entry without building a fully curbless floor.
Curbless or barrier-free shower
This design is often chosen for aging in place or mobility needs. It can improve access, but it usually requires more planning because the floor, drain location, and slope all have to work together.
If accessibility is part of the goal, the layout should be planned early. Changing to a curbless or low-threshold design after framing and plumbing are already underway can add cost and complexity.
How the conversion works, step by step
A tub-to-shower conversion usually follows a predictable sequence, even though the exact details vary by home.
1. Remove the old bathtub and surround
The existing tub, wall finish, and any damaged materials are removed first. This opens access to the framing, subfloor, and plumbing so the crew can inspect what needs repair.
During this stage, a contractor may find:
- water damage around the tub apron or wall seams
- rotted subfloor sections
- outdated or poorly placed drain lines
- framing that needs reinforcement for new shower walls or doors
2. Evaluate the framing and subfloor
Once the tub is out, the condition of the structure can be checked. This is especially important in a humid climate like Southwest Florida, where slow leaks can cause hidden damage.
Any soft, swollen, or mold-affected material should be addressed before the shower is rebuilt. Covering problems with new finishes only delays the repair.
3. Rework the plumbing for the new shower layout
A shower does not use the same plumbing layout as a tub in every case. The drain may need to be moved, the water control valve may need to be relocated or adjusted, and the new showerhead height should match the room and user.
The shower floor also has to slope correctly to the drain. Without proper pitch, water can pool or escape the shower area.
4. Build the shower receptor or base
This is the most important part of the project. The shower floor must be constructed so water drains properly and does not escape into the subfloor or adjacent walls.
Depending on the design, the base may be:
- a manufactured shower pan
- a mortar bed built on site
- a custom curbless assembly
The right option depends on the existing floor height, the drain location, and whether the shower will be standard, low-threshold, or barrier-free.
5. Install waterproof wall backing and membranes
The wall system behind the finish materials needs to resist moisture. In a tub-to-shower conversion, the wall assembly should include suitable backer material and a waterproofing method that fits the tile or panel system being used.
Commonly used materials for wet areas include code-recognized backer boards such as:
- glass mat gypsum
- fiber-reinforced gypsum
- cement backer board
- cementitious backer units
The key is not just the material itself, but how it is installed and sealed. Corners, seams, niches, and penetrations all need attention.
6. Add the finish surfaces and fixtures
Once the waterproofing system is complete, the finish layer goes on. That may include:
- tile
- solid surface wall panels
- shower niche or shelving
- valve trim and controls
- showerhead and handheld spray
- glass enclosure or curtain rod
- grab bars or shower seat if desired
At this stage, the shower begins to look finished, but the hidden waterproofing beneath it is what determines long-term performance.
7. Test for leaks and complete final details
Before everything is closed up, the shower base and waterproofing should be tested. A good conversion should be checked before finish work is finalized so problems can be corrected while access is still available.
Code and design points that matter in Florida
Bathroom remodels have to work both visually and structurally. In a shower conversion, a few details are especially important.
Shower size and opening requirements
Shower compartments have minimum size and opening requirements under plumbing code. That means the proposed shower footprint may need to be adjusted, especially in smaller bathrooms where a tub used to occupy most of the wall length.
Waterproofing must be continuous
A shower is one of the most water-exposed areas in the home. Every seam, corner, and transition has to be detailed so water stays where it belongs.
If the waterproofing is interrupted at the floor, the threshold, or the wall junctions, the risk of hidden damage increases.
Thresholds are different for standard and accessible showers
A standard shower can have a curb or step-over edge. A low-threshold or curbless shower is different and should be planned with the slope, drain type, and user needs in mind.
For homeowners thinking ahead to mobility changes, the shower should be designed with entry and exit in mind from day one.
Florida’s moisture and corrosion conditions matter
In Southwest Florida, materials need to handle humidity and frequent moisture. That means choosing suitable fasteners, backer products, fixtures, and finishes for a wet environment.
It also means paying attention to ventilation and to any signs of existing mold or decay before the new shower goes in.
Choosing materials that hold up in Southwest Florida
The best-looking shower is not always the one that performs best over time. In a coastal climate, the material selection should prioritize moisture resistance.
What to consider
- Backer and waterproofing systems: should be approved by the manufacturer for shower use
- Tile or panels: should be appropriate for wet areas
- Trim and fixtures: should resist corrosion
- Sealants and transitions: should be installed carefully, not overused as a substitute for proper waterproofing
- Ventilation: should support drying after showers
If your bathroom has already had issues with mildew, you may want to review why shower grout keeps cracking Florida before choosing the finish system.
Common mistakes to avoid
A tub-to-shower conversion can go wrong in a few predictable ways.
Skipping hidden repairs
If water damage is left in the framing or subfloor, the new shower may fail even if the surface looks good.
Ignoring drain placement
A shower needs the floor shaped to the drain. If the drain location is not right for the new layout, the floor assembly may need more work than expected.
Treating waterproofing like a minor detail
Tile is not waterproof by itself. The waterproofing behind and beneath the finish is what protects the home.
Making the entry too high or too tight
An awkward threshold or narrow opening can make the shower less comfortable to use, especially if accessibility matters now or may matter later.
Choosing finishes before the structure is solved
It is tempting to focus on the tile first, but the build should start with the structure, drain, and waterproofing plan.
What homeowners usually need to plan for
Every bathroom is different, but most tub-to-shower projects involve some combination of the following:
- demolition and debris removal
- plumbing adjustments
- subfloor or framing repairs
- waterproof shower base construction
- backer board or panel installation
- tile or wall panel finish work
- new shower valve, showerhead, and controls
- glass, accessories, and caulking
The final scope depends on the condition of the room, the size of the shower, and whether accessibility features are included.
When to bring in a remodeling contractor
If the conversion involves plumbing changes, structural repair, curbless construction, or major waterproofing work, it is wise to have a qualified remodeling professional evaluate the bathroom before work starts. That is especially true in older homes where hidden water damage is common.
For local homeowners comparing options, this bathroom remodel port charlotte fl resource can be a useful starting point for thinking through the scope of a project.
FAQ
How long does it take to convert a bathtub to a walk-in shower?
The timeline depends on the condition of the bathroom, the amount of plumbing work needed, and the chosen shower system. A simple conversion can be faster than a custom curbless build, but hidden damage can extend the schedule.
Can every bathtub be turned into a walk-in shower?
Not always in the same way. Most tub spaces can become showers, but the framing, drain location, floor height, and access needs may limit the design or require extra work.
Is a curbless shower harder to build than a standard shower?
Usually, yes. A curbless shower often requires more careful planning because the floor slope, drain placement, and threshold details have to work together precisely.
Do I need to replace the plumbing when changing a tub to a shower?
Sometimes only portions need to change, but the drain, valve, or supply lines may need adjustment to fit the new shower layout. The answer depends on the existing plumbing and the new design.
What is the most important part of the conversion?
The waterproof shower base and wall system are the most critical parts. A beautiful finish will not matter if the shower is not built to manage water correctly.
Is a tub-to-shower conversion a good idea for resale?
It can be, especially if the home benefits from a more functional primary bath or aging-in-place features. The best choice depends on the neighborhood, the rest of the home, and whether another tub remains in the house.
Final takeaway
If you want to know how to turn a tub into a walk in shower, the answer is to treat it as a full shower build inside the old tub footprint, not just a cosmetic swap. The tub comes out, the structure is inspected, the plumbing is adjusted, and the shower is rebuilt with proper slope, waterproofing, and finish materials. In Southwest Florida, those hidden details matter because moisture is relentless and shortcuts show up fast.
If you are planning a conversion and want to understand the bathroom in the context of the rest of your home, start with the space, the drainage, and the long-term use case before choosing tile or fixtures.